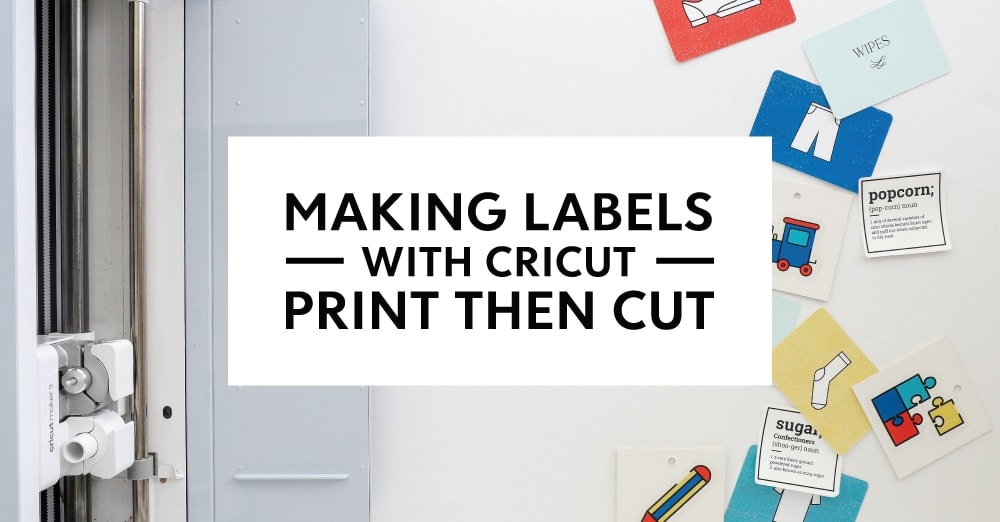
39 how to cut labels on cricut
Address Labels with Cricut - Crafting in the Rain Print then cut address labels. Start by creating a rectangle that's 2.8 inches wide by .8 inches tall. Type 3 separate text lines. The first is your name. The second and third are your address. By keeping them as separate lines, they will be easier to space properly. Choose a font for your name. Feel free to make your name a different font ... Print & Cut Label Tutorial in Cricut Design Space If you own a Cricut cutting machine you can upload the image of the canning labels and set them to print and cut. You can also add text to the label in Cricut design. Here is a step by step instructions. For an Easy Printable PDF of the instructions Click Here.
How to Make Clear Print Then Cut Label Stickers with Cricut | DIY ... Print then cut labels are a great project to organize your craft room, or organize any room of your home. In this Cricut tutorial I'll show you how to create clear print then cut label...

How to cut labels on cricut
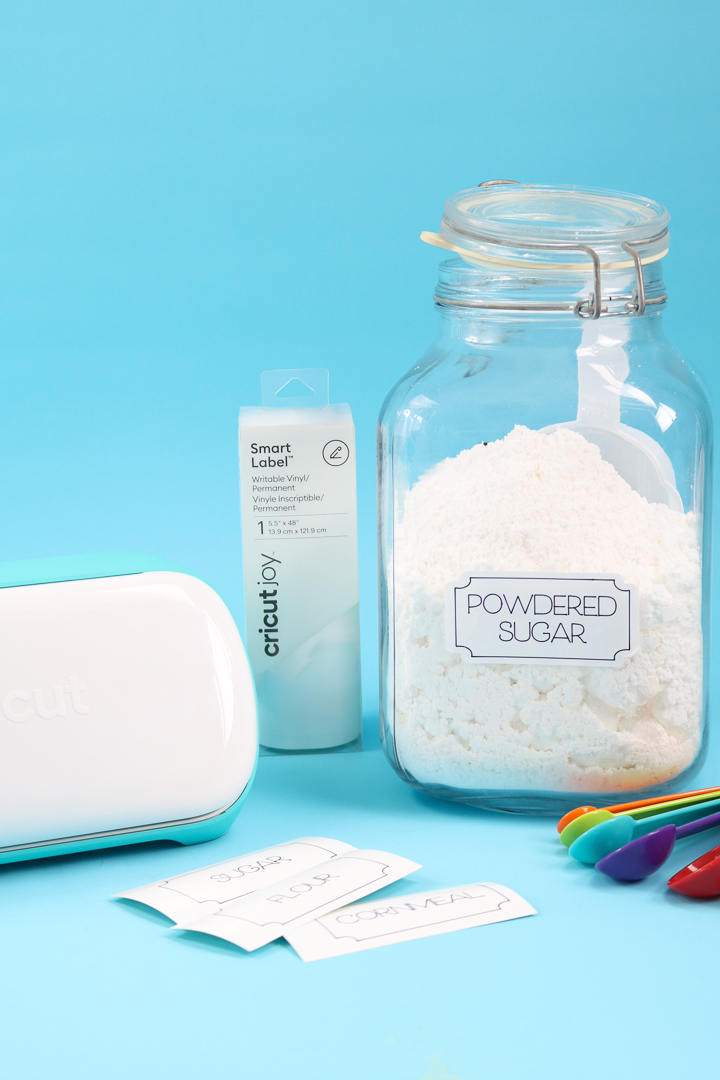
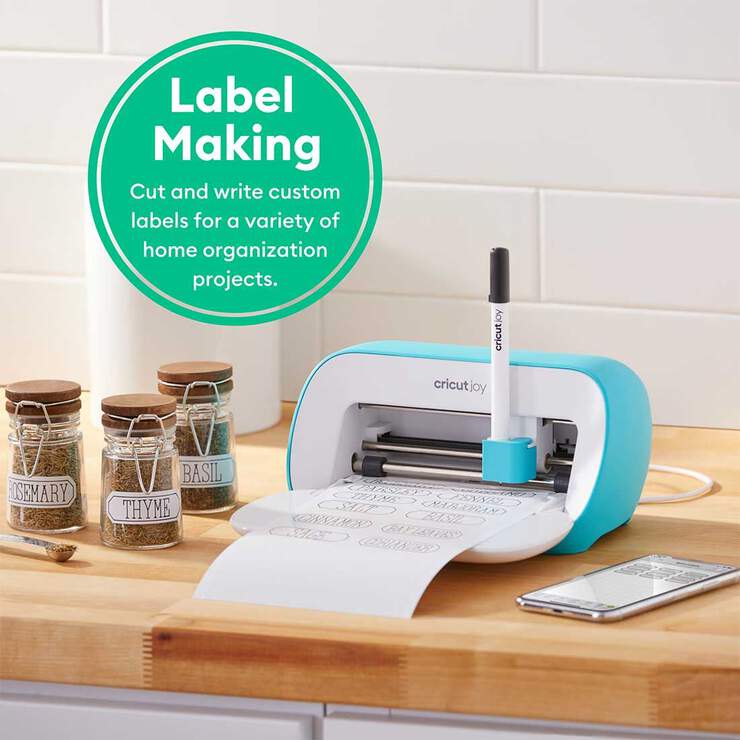
DIY Pantry Labels on a Cricut Joy, Explore, or Maker! Step 1: Design Your Pantry Labels in Cricut Design Space All pantry labels have two parts -- the label shape and the label name. These are two different layers. The label shape is a cut and the label name is a draw, and the two are attached together to form the pantry label itself. Open Cricut Design Space and click New Project. How to Write on Tags & Labels With Cricut Pens The machine will then re-cut your single "registration" mark (the upper left square) and then proceed to write directly onto your pre-cut items! If you have lots of labels to make, simply peel off your tags, re-load your template, swap out the wording in Design Space, and run the mat through the machine again! Attaching the Tags to the Baskets How To Make Labels With Cricut - A Getting Started Guide Cricut Paper, Smart Label Writable Vinyl, and any other material that can be written on with pens and cut with your Cricut Cricut Pens - Any color and weight of pens and markers will work, just double check that you have pens that are compatible with your Cricut machine because Cricut Joy uses a different size then the Maker and Explore do
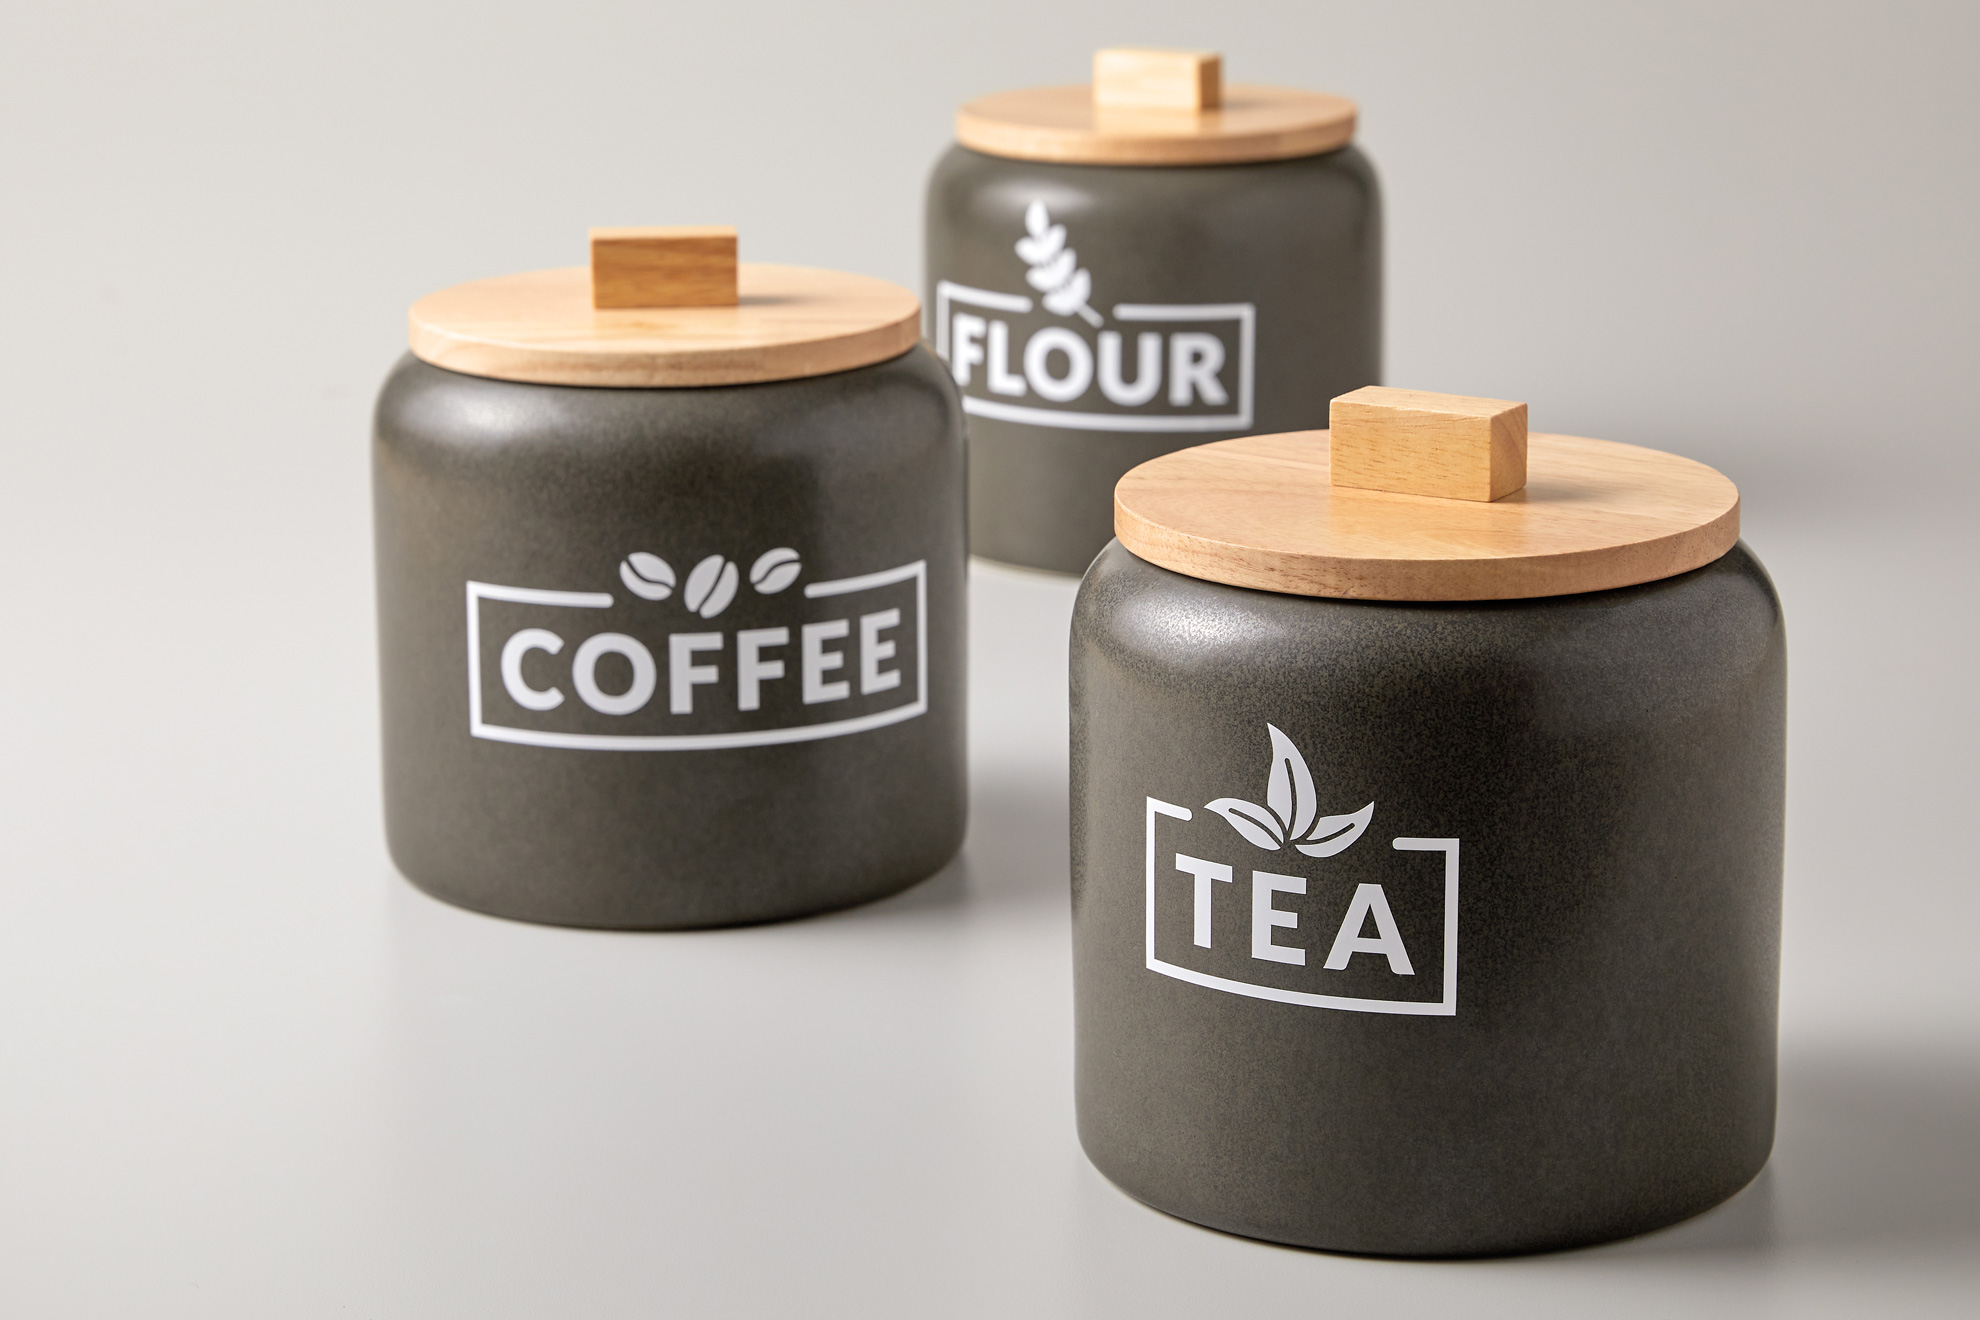
How to cut labels on cricut. Online Labels® Sticker Paper Cut Settings for Cricut Explore Air Updated 09/22/2022 • ~1 minute read. Our expert crafters have hand-tested the Cricut Explore Air™ with OnlineLabels sticker paper to bring you the exact cut settings for each material. Continue to the chart below to find the cut settings for kiss cut and full cut stickers. Materials were tested on a Cricut Explore Air with the fine-point blade. How to Make Fabric Quilt Labels with the Cricut Maker - Sewing Machine Fun How to Cut Quilt Labels with the Cricut Maker 1. Create a Quilt Label Image 2. Create a Print Then Cut Image in Cricut Design Space 3. Print on Fusible Fabric Paper 4. Cut the Printable Fabric with the Cricut 5. Iron On The Label Making Quilt Labels with Other Cutting Machines Final Notes Heat Transfer Vinyl vs. Printed Fabric Labels How to Print and Cut Round Stickers on the Cricut Go to Design Space at Click New Project Click the Upload button Browse, find, and upload the sticker file On the next screen, under "Select Image Type," choose Simple then click Continue. On the next screen, just click Continue. On the next screen, keep it selected as "Save as print then cut image" then click Save. How to Make Vinyl Labels with a Cricut Cutting Machine Label Project in Cricut Design Space. Step 2- Create your design. If you are using a Cricut machine, you can find my exact project in Cricut Design Space here. To design my labels, I used a Cricut font called Balega Std Regular. I measured the bins I was labeling to figure out the best size, and I ended up using 55 pt font for my project.
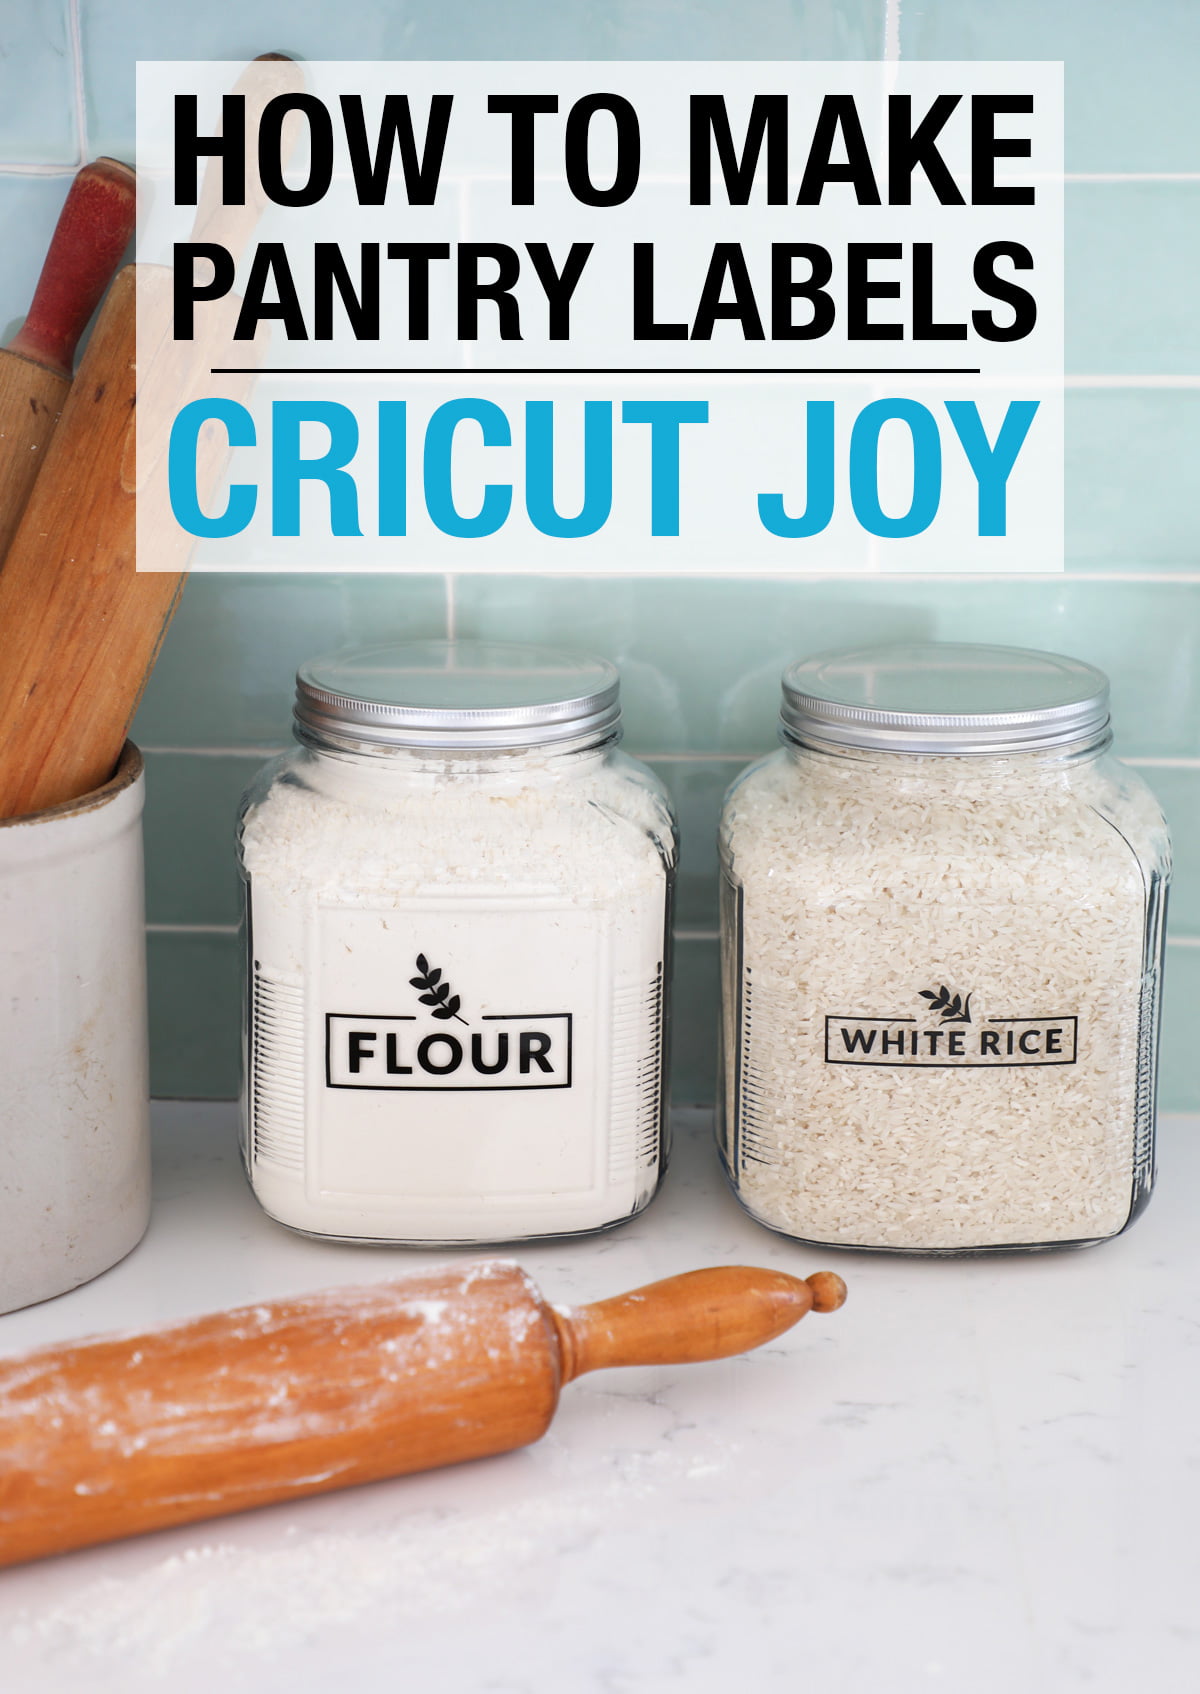
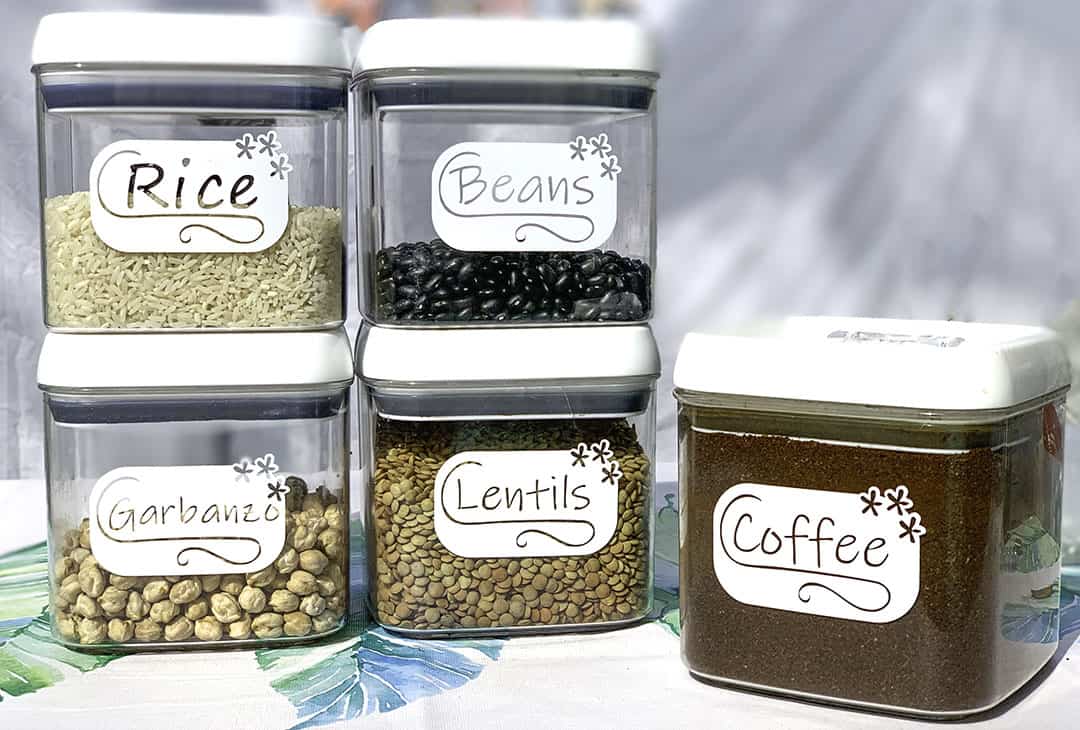
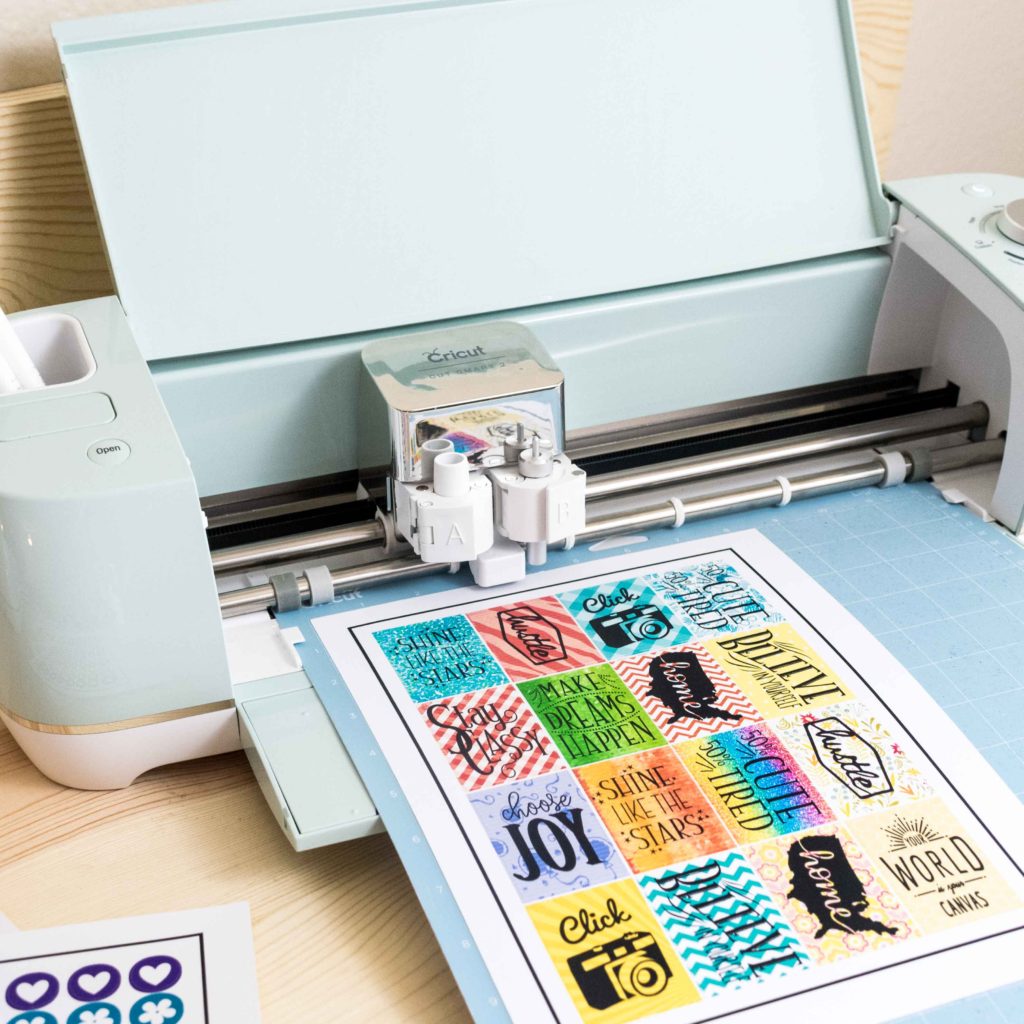
How to Make Pantry Labels with a Cricut | 3 Methods to Try! Place the page onto a green StandardGrip mat and load into the Cricut machine; follow the on-screen prompts to start the Cricut cutting each label. After unloading the material from the machine, simply peel-and-stick labels onto you pantry canisters. Repeat for all pantry jars. What's My Recommendation for Making DIY Pantry Labels with a Cricut? How To Use Cricut Print Then Cut / DIY Labels and Stickers Hi guys! In today's video you will see how easy is it to use Cricut's print then cut feature to make labels. I use it today to make some labels for strawberry jam. I also use this feature a... HOW TO CUT VINYL ON A CRICUT (WITH VIDEO TUTORIAl) - Analytical Mommy LLC 2. Cut your vinyl to a size that's a bit bigger than your label. I like to cut about one inch bigger all around. So for a 3x4 label, i'll cut a 4x5 piece of vinyl. 3. Place your vinyl on your standard grip cutting mat. Make sure that you put your vinyl in the same place the label shows on the mat in Design Space. It's likely the top left corner. A Guide To Making Labels with Cricut Print Then Cut Step 4: Cut Out the Labels with Your Cricut Machine With your labels printed, load the paper onto a green StandardGrip cutting mat, aligning the top lefthand corner of the paper with the top lefthand corner of the mat's grid. Load the mat into your Cricut machine and press the Go/Start button.
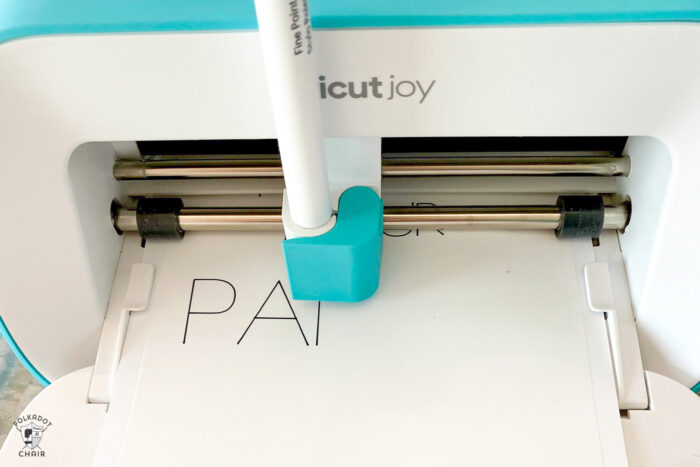
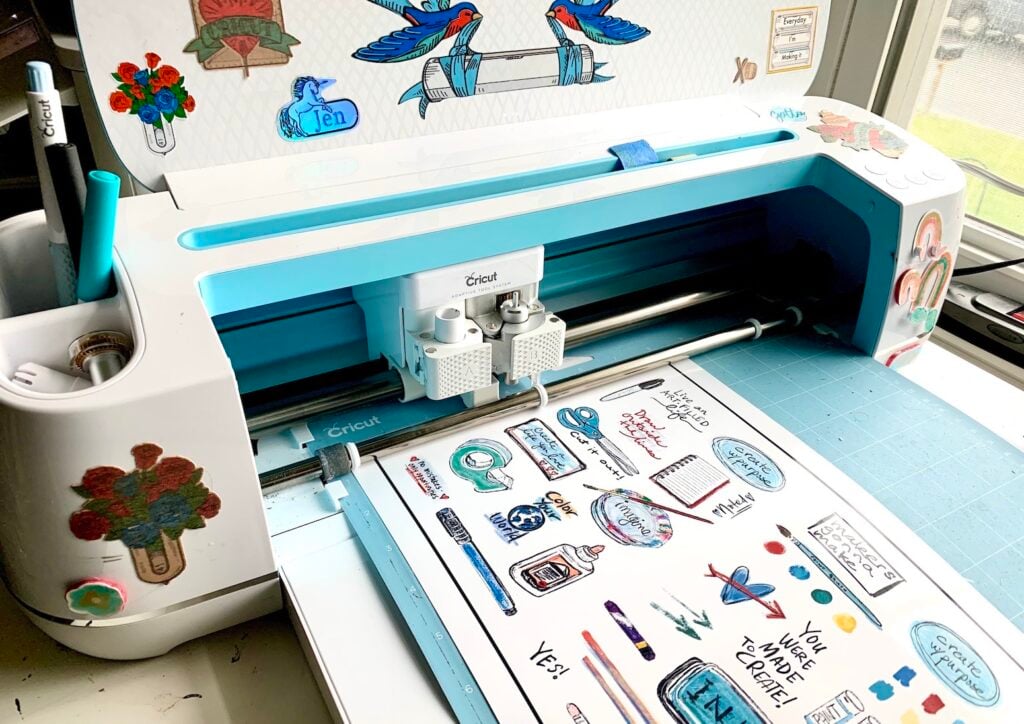
Easy Print & Cut Stickers on a Cricut! - Jennifer Maker STEP 2: Print Your Stickers. Click "Make It", click the green "Send to Printer" button, make sure "Bleed" is on, then send your stickers to the printer. I recommend you print on Normal or Best setting if you have that option. Your sticker sheet will print with a black rectangle around them -- this is your Cricut's registration mark and it needs ... How To Make Labels On Cricut? - CookingTom Diet How To Make Labels For Cricut [Idea]: Labels are important to be used in the world to identify things. All the labels in the world can't tell us the name of a thing. So labelling is very important. Labels & More. An easy way to label your artwork is with a water-based marker. How to Make Vinyl Labels with a Cricut | A Comprehensive Guide Once you have your labels sized to your containers, send all your layers to be cut on your Cricut machine, again using the "Vinyl" materials setting. Start by weeding both layers, just as I've shown in the two label projects above. To layer your label, start by picking up the top layer of your design off the white paper backing with transfer tape. Print and Cut Labels - Cricut Maker - YouTube Learn how to use the print and cut feature to create clear labels/ stickers.Affiliate Links:Amazon:Silhouette Clear Sticker Paper: ...
Cricut Print Then Cut Stickers Tutorial | Sweet Red Poppy
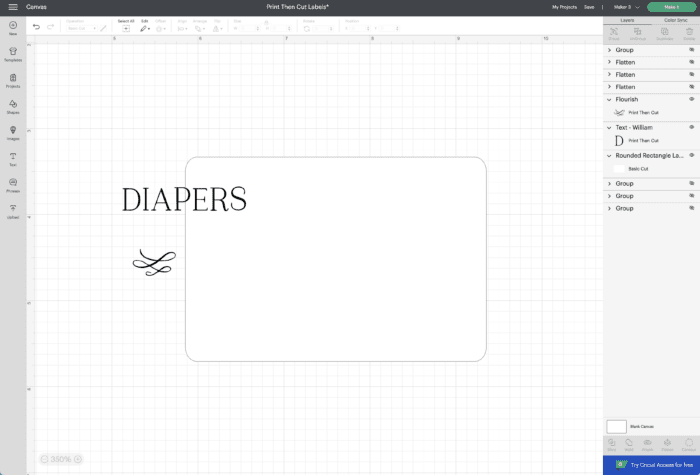
How to Use Cricut Pens to Make (Gorgeous) Custom Labels The very last step before you can send your beautiful labels to your Cricut machine is to attach everything together. To do so, again select the entire label (one full label at a time), and click "Attach" in the bottom righthand toolbar. This will essentially bind the shape, text, and any other decorative features into one single label.

Print & Cut Label Tutorial in Cricut Design Space - Crafting ...
How To Make Labels With a Cricut Cutting Machine - My 2 Favorite ... Step 2: Cut out your labels. Step 3: Weed your vinyl design. Step 4: Transfer your vinyl labels onto your surface using the hinge method. Option 2: How to make labels using a Cricut pen or marker & paper. Supplies needed. Step 1: Create your design in Cricut Design Space. Step 3: Send your design to your Cricut machine.
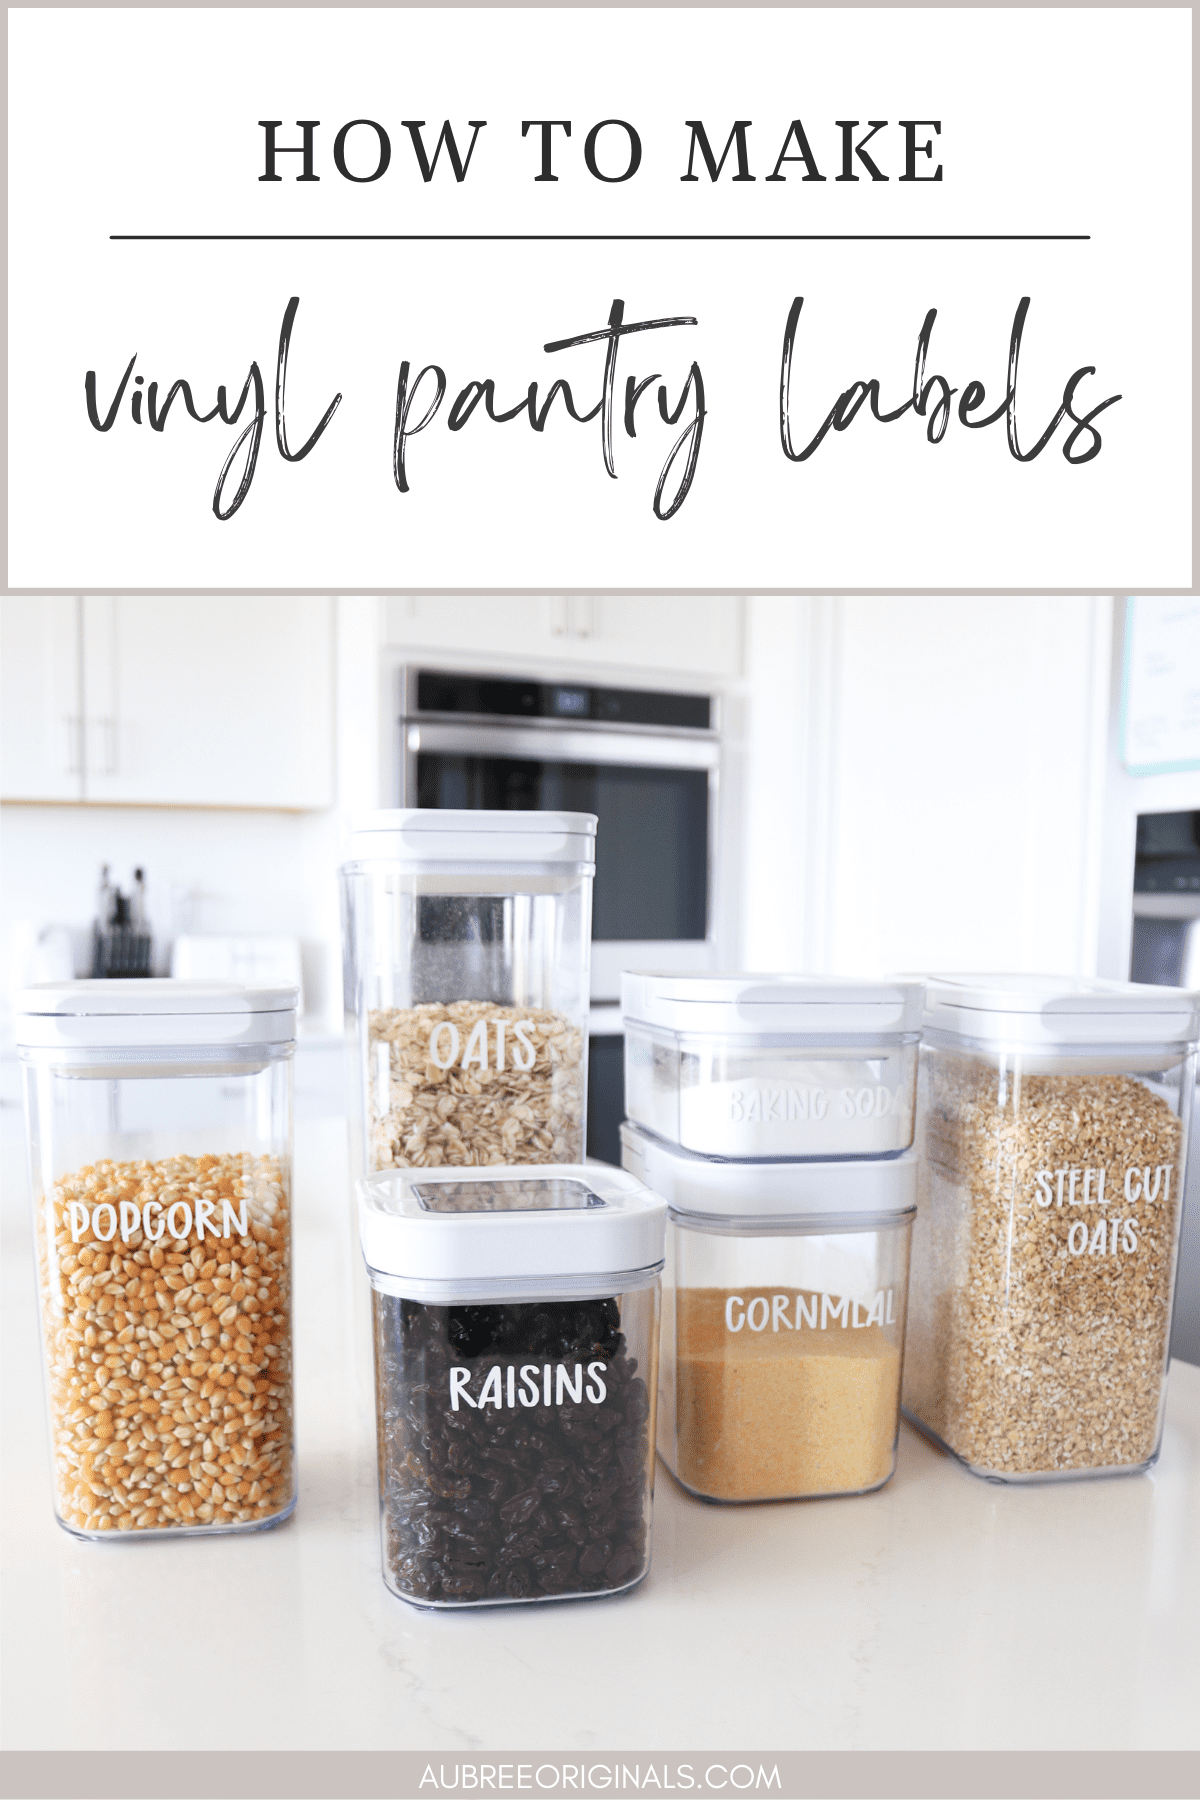
How to Make Pantry Labels With Cricut - Aubree Originals
Kitchen Labels, How To Print And Cut On Cricut - Extraordinary Chaos Flatten Your Label Now right click and flatten to create the template for all of your stickers. This can be duplicated multiple times to create your labels. Add Text And Any Images Adding the text is simple, sizing depends on how many letters will appear on each label, I was fine with my text sizing being slightly different on each label.
Five Ways to Get Your Home Organized With Cricut Joy - Blue i ...
Printable Labels with Print then Cut on Your Cricut Machine Click flatten in the lower right-hand corner to make this a print then cut label and it is ready for your machine! Be sure to delete any labels you don't want to use before continuing. Step 3: Making Printable Decorative Labels with Print Then Cut Now it is time to use print then cut to actually make our printable labels.

How to Make Stickers Using the Cricut Joy |
Cricut Labels: 3 Ways to Make Them - The Country Chic Cottage Choose both objects and click flatten to make the label a print then cut. Repeat for as many labels as you need. Print when prompted in Cricut Design Space then add to your machine for the cutting. Peel and stick the labels once complete to any surface. Tried this project? tag us to show off your work!

How to make vinyl labels with Cricut to organize your home ...
3 Ways To Make Labels With Your Cricut - YouTube It's a lot easier than you may think, and in this video, Rachel shows three different ways you can make labels with your Cricut. From drawing to print then cut, labels can be made easily...
Make labels with Cricut — Easy How-To Instructions with video ...
How to Make Labels with a Cricut | The DIY Mommy - YouTube Learn how to make DIY vinyl labels with Cricut for organizing your home or labeling handmade products! Subscribe to my channel for more DIYs: ...
5 Home Organization Projects to Tackle with a Cricut Joy ...
How To Make Labels With Cricut - A Getting Started Guide Cricut Paper, Smart Label Writable Vinyl, and any other material that can be written on with pens and cut with your Cricut Cricut Pens - Any color and weight of pens and markers will work, just double check that you have pens that are compatible with your Cricut machine because Cricut Joy uses a different size then the Maker and Explore do
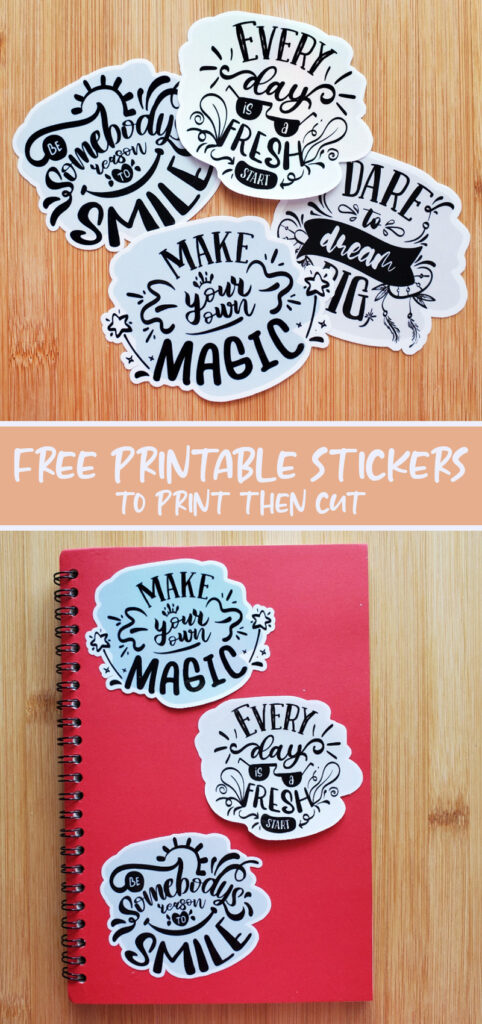
How to Print then Cut Stickers on Cricut * Moms and Crafters
How to Write on Tags & Labels With Cricut Pens The machine will then re-cut your single "registration" mark (the upper left square) and then proceed to write directly onto your pre-cut items! If you have lots of labels to make, simply peel off your tags, re-load your template, swap out the wording in Design Space, and run the mat through the machine again! Attaching the Tags to the Baskets
How to Make Writable Labels with the Cricut Joy - Angie ...
DIY Pantry Labels on a Cricut Joy, Explore, or Maker! Step 1: Design Your Pantry Labels in Cricut Design Space All pantry labels have two parts -- the label shape and the label name. These are two different layers. The label shape is a cut and the label name is a draw, and the two are attached together to form the pantry label itself. Open Cricut Design Space and click New Project.

How to Make Stickers with Cricut "Print then Cut" - Sarah Maker
How to Print and Cut Round Stickers on the Cricut - Jennifer ...
Cricut Print Then Cut Stickers Tutorial | Sweet Red Poppy
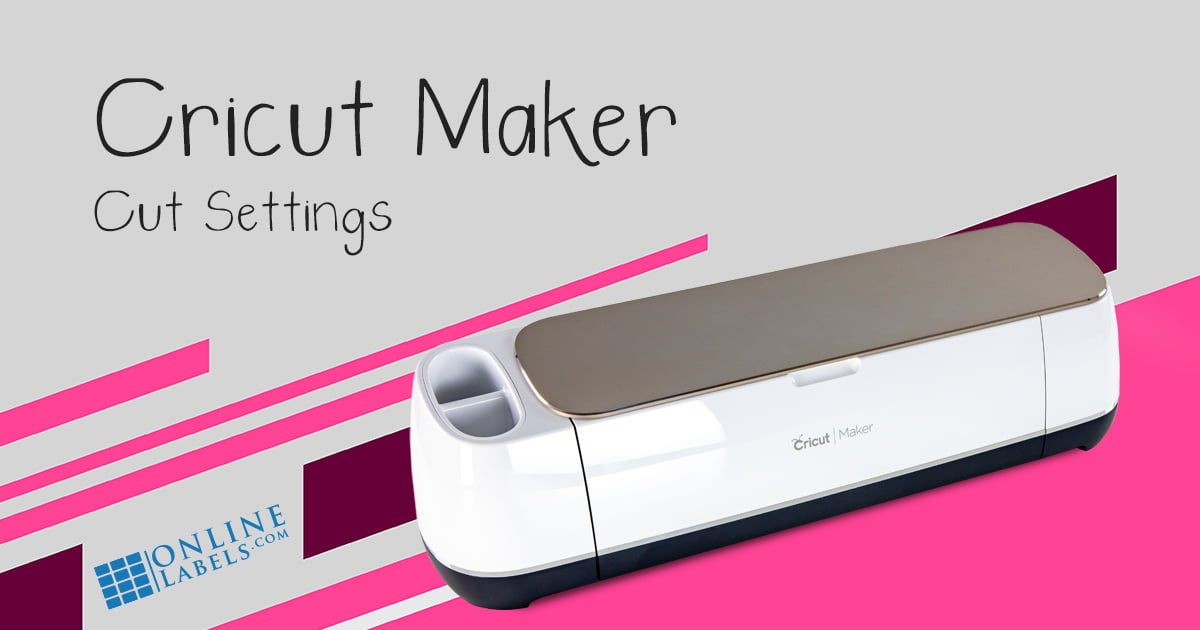
Online Labels® Sticker Paper Cut Settings for Cricut Maker

HOW TO MAKE STICKERS WITH CRICUT | PRINT THEN CUT
How to Make Waterproof Die Cut Stickers on Your Cricut : 7 ...
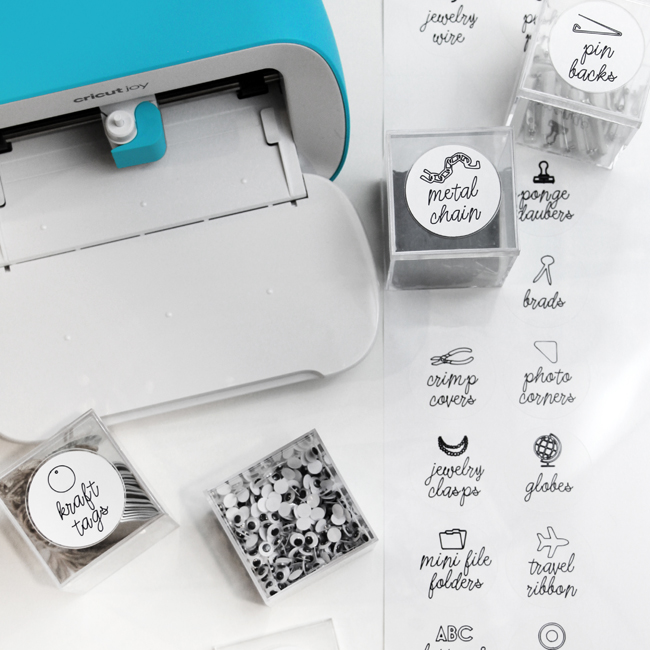
Cricut Joy™ + Label Making Bundle | Cricut Shop

Easy Print Then Cut How to Create Stickers with your Cricut
Make labels with Cricut — Easy How-To Instructions with video ...
I made wine labels using print and cut with Cricut printable ...
A Guide To Making Labels with Cricut Print Then Cut - The ...

Cricut Joy Smart Label Writable Vinyl Instructions – Help Center

Print & Cut Label Tutorial in Cricut Design Space - Crafting ...
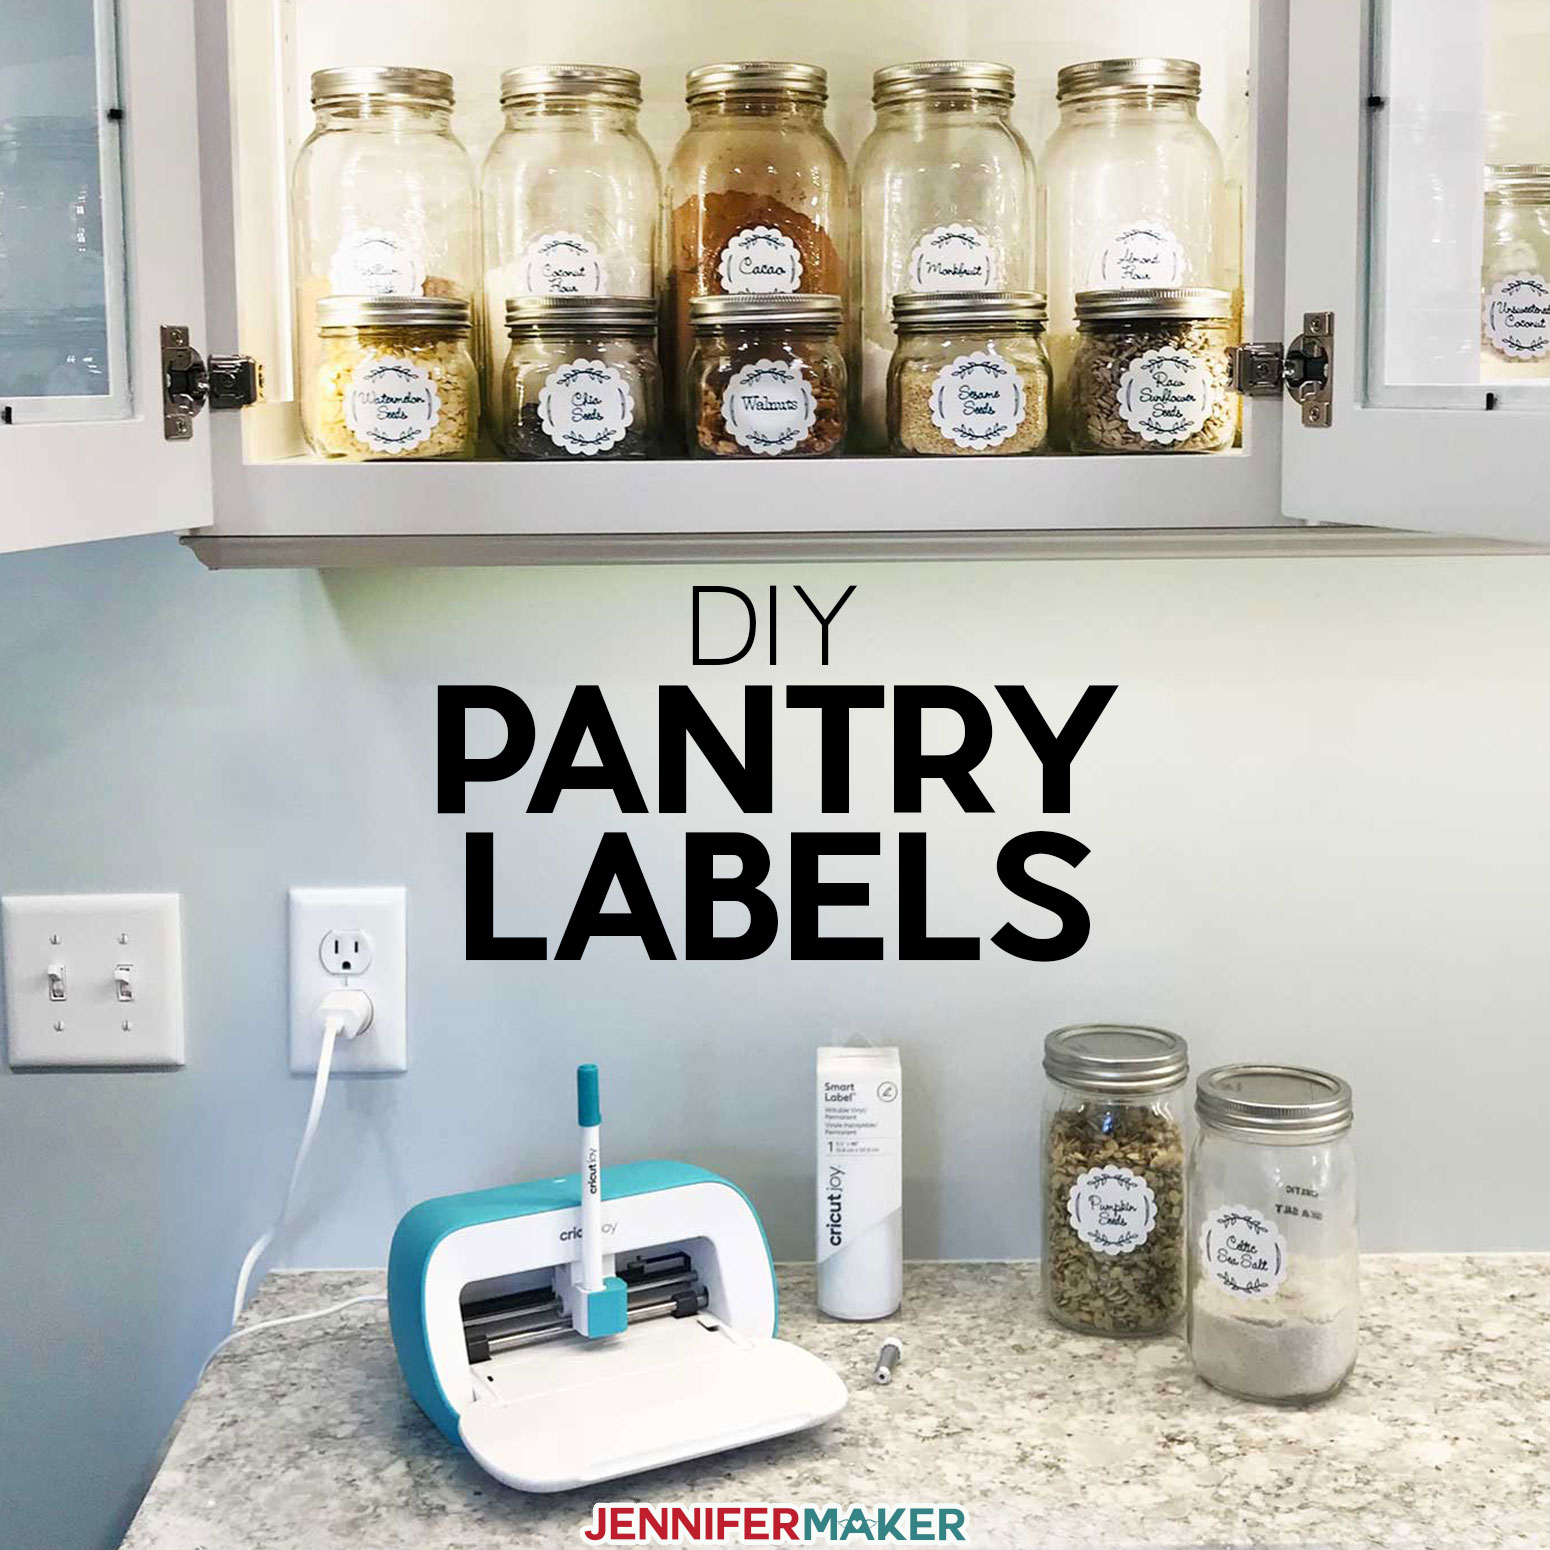
DIY Pantry Labels on a Cricut Joy, Explore, or Maker ...
How to Make Pantry Labels with Cricut Joy - Weekend Craft
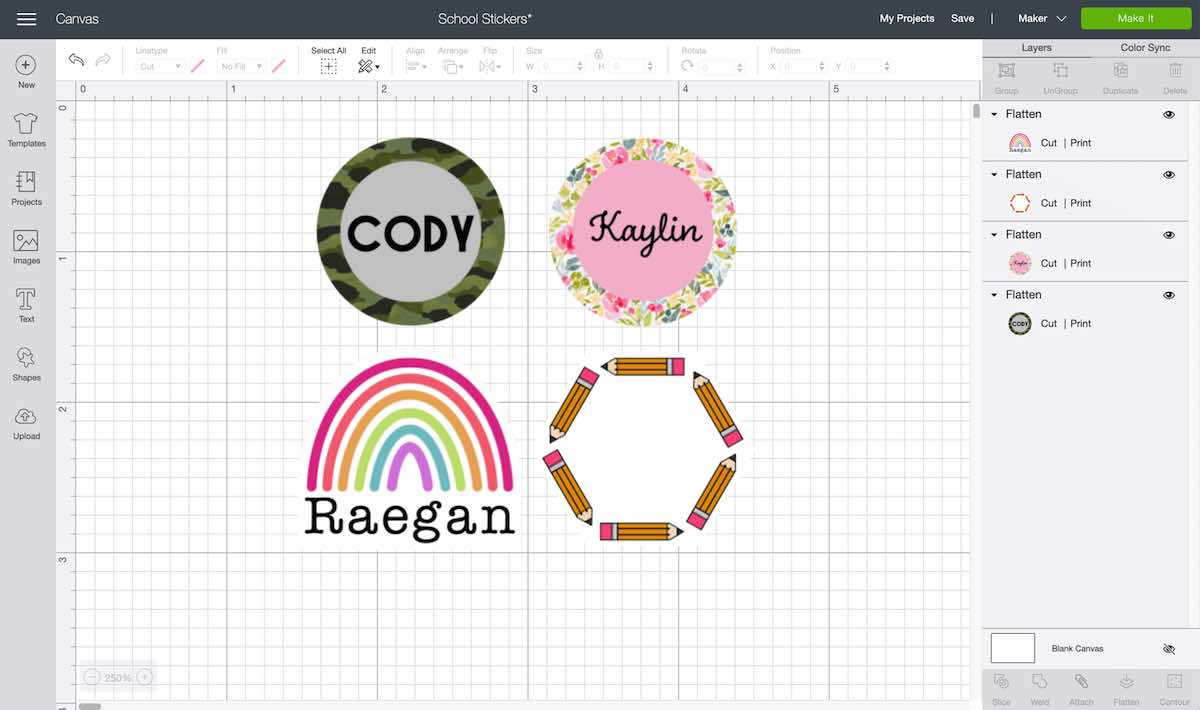
How to create personalized stickers for back-to-school – Cricut

EASY DIY PANTRY LABELS WITH YOUR CRICUT | EVERYDAY JENNY
3 Ways To Make Labels With Your Cricut
How to make vinyl labels with Cricut to organize your home ...

How to Make Stickers with your Cricut | A Print Then Cut ...

How to Make Stickers with Cricut "Print then Cut" - Sarah Maker

HOW TO CUT VINYL ON A CRICUT (WITH VIDEO TUTORIAl) - MAKE ...
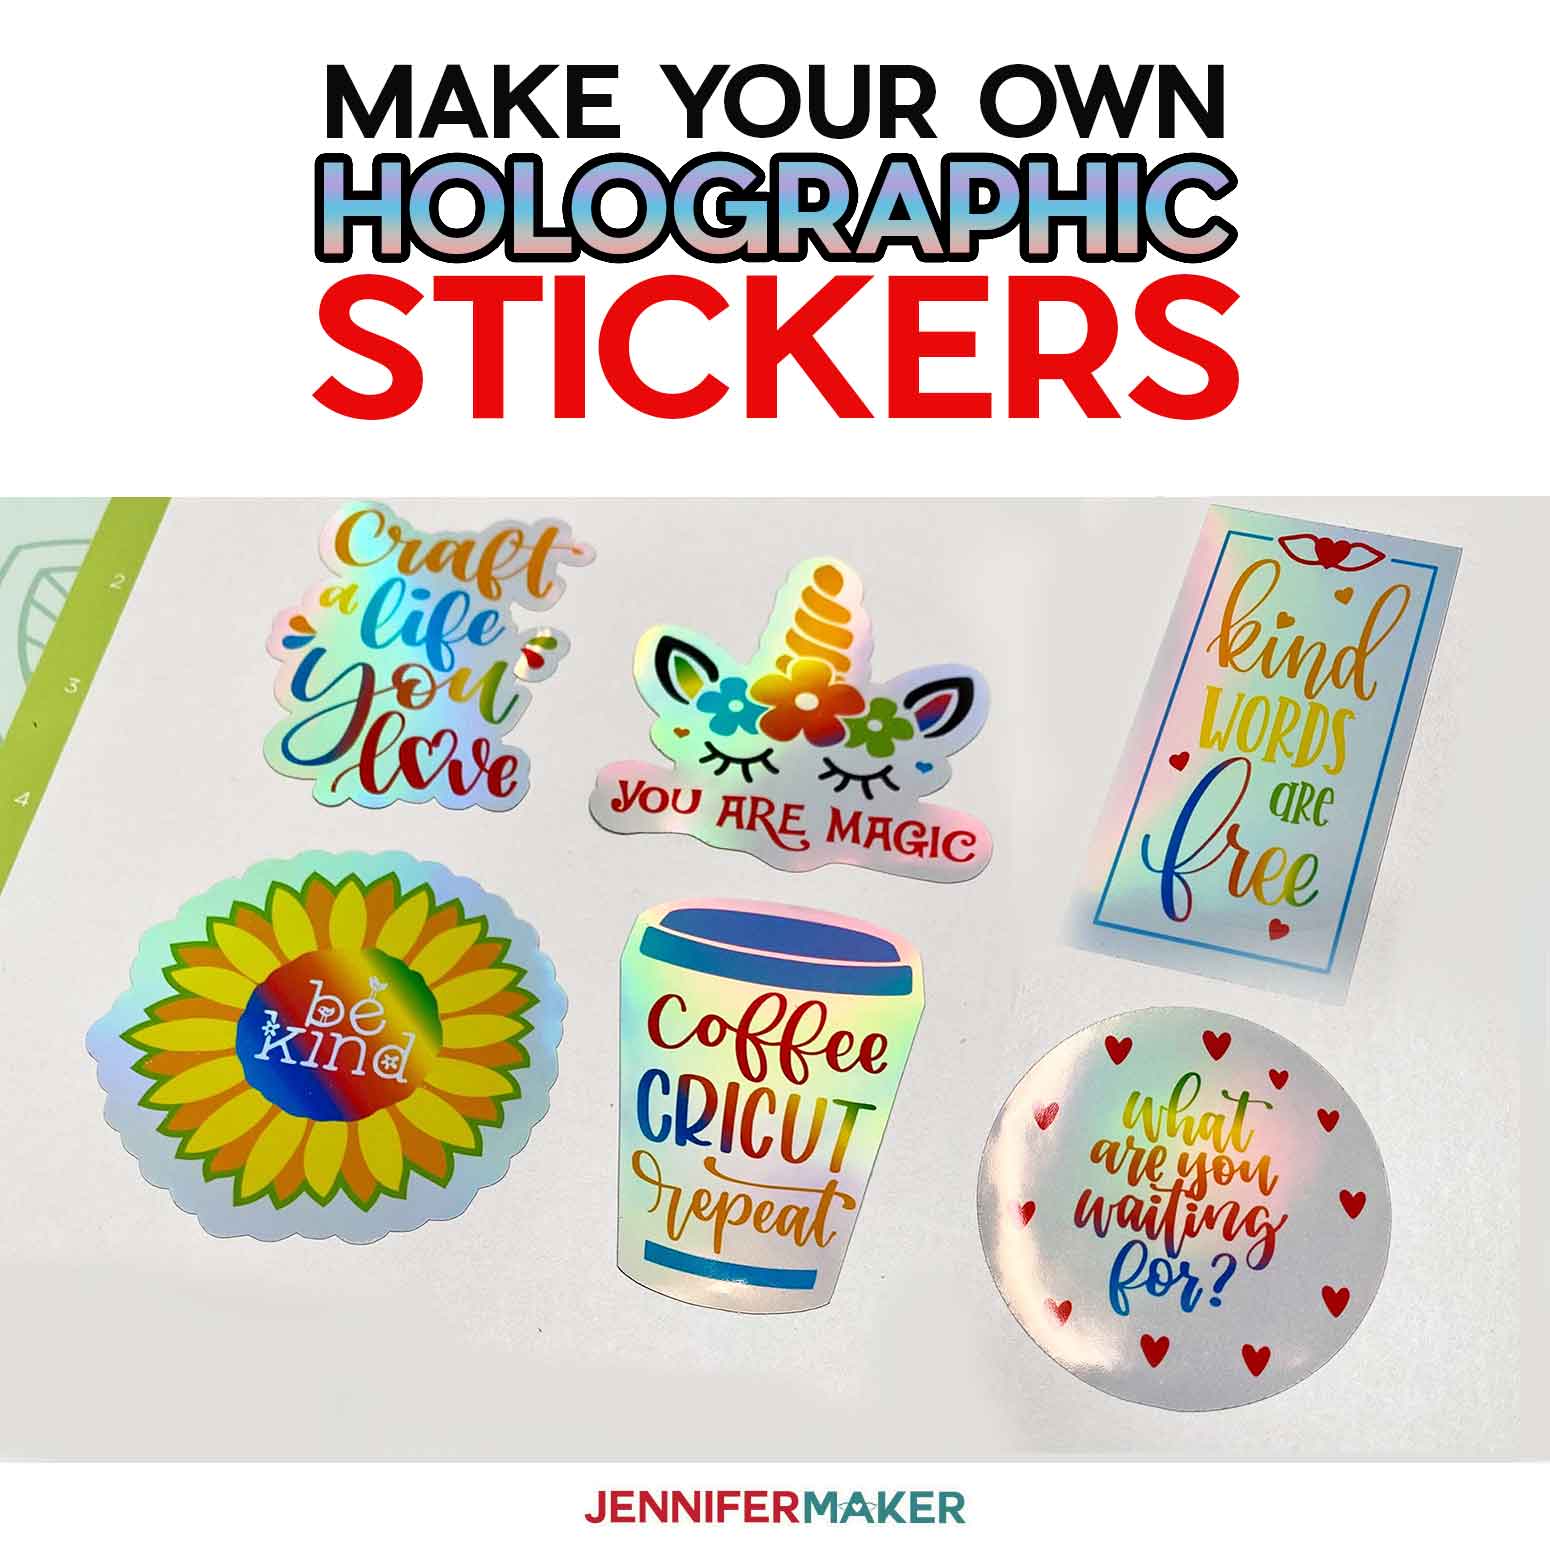
How to Make Holographic Stickers on a Cricut! - Jennifer Maker

How To Use Cricut Print Then Cut / DIY Labels and Stickers
A Guide To Making Labels with Cricut Print Then Cut - The ...

EASY DIY PANTRY LABELS WITH YOUR CRICUT | EVERYDAY JENNY
How to Make Stickers with your Cricut +Free Sticker Layout ...
Make STICKERS with Cricut + free sticker sheets - Well ...

Cricut - Print then Cut - LABELS
Post a Comment for "39 how to cut labels on cricut"